Instant Bank Pay
Use this type of form if:
- You want to take a one-off payment immediately.
Do not use this type of form if:
- Your customers are not based in the UK or Germany. Instant Bank Pay is only available in these countries.
- You want to set up recurring payments, e.g. a club subscription.
Here’s an example of this type of form, and later on we show you how to build it.
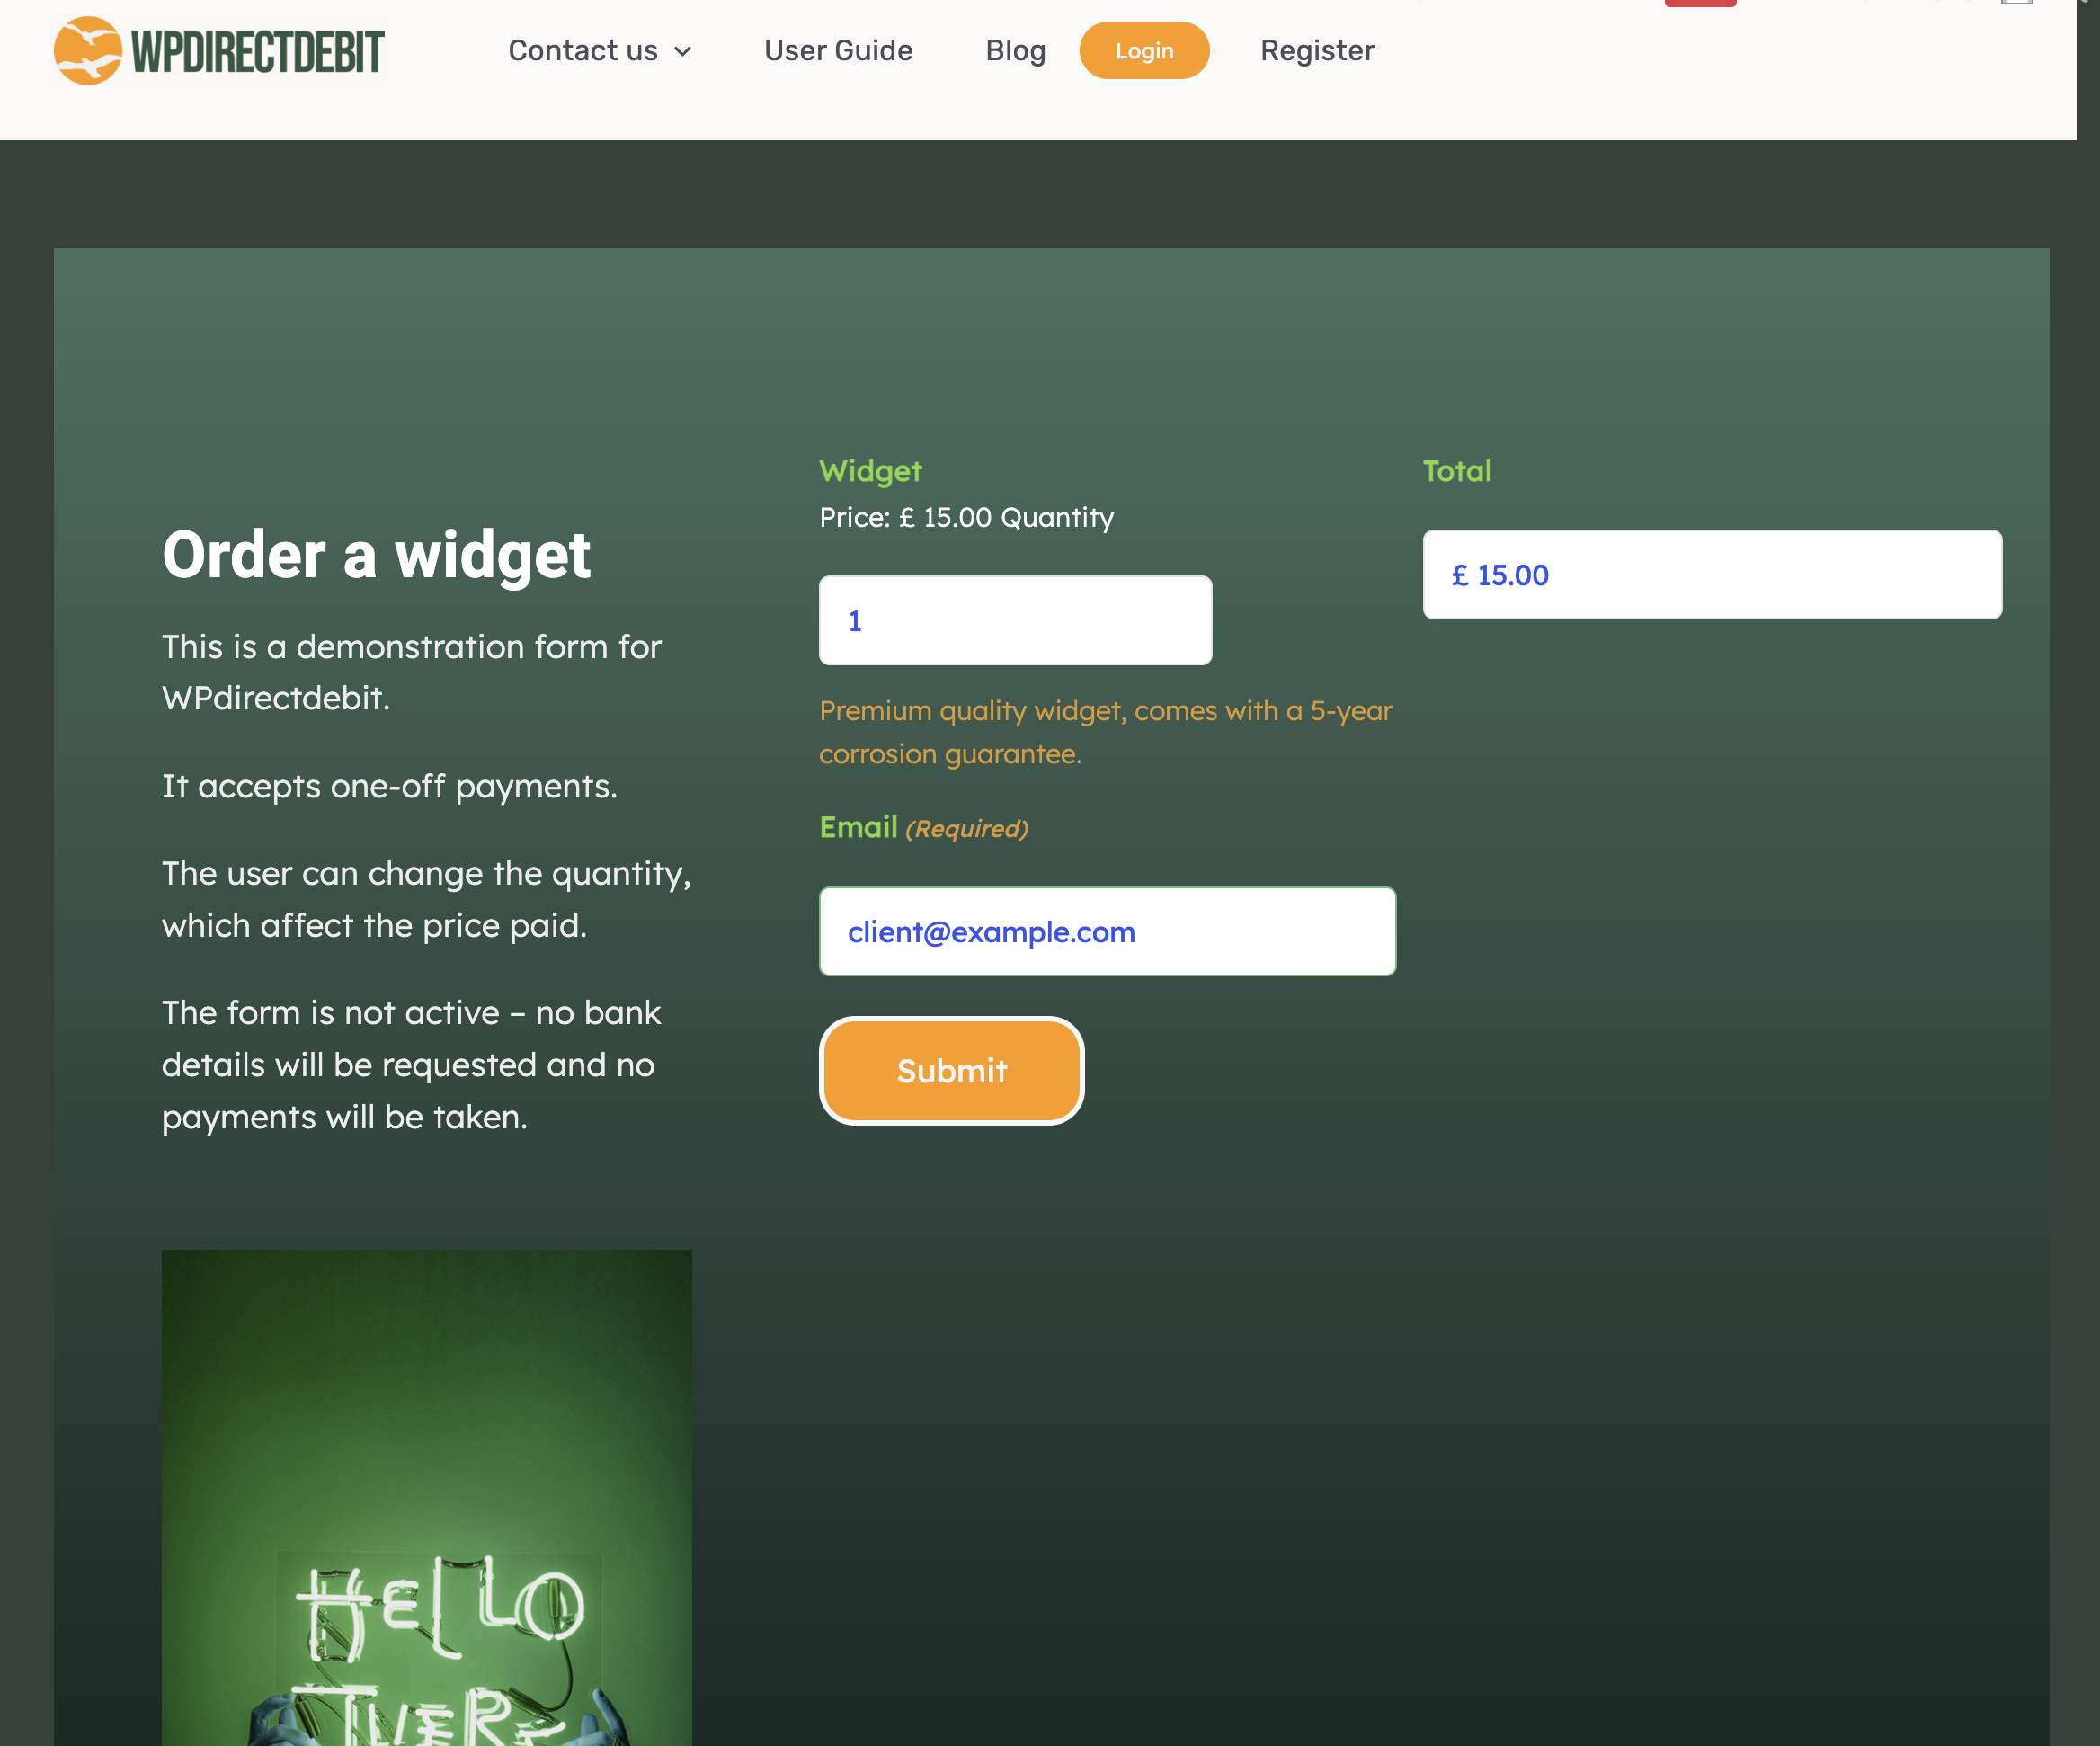
When the customer submits the form, it will start the GoCardless checkout process. A window will open for the collection and verification of the customer’s bank details. Once verified, the payment will be transferred to your bank almost immediately.

Creating a form
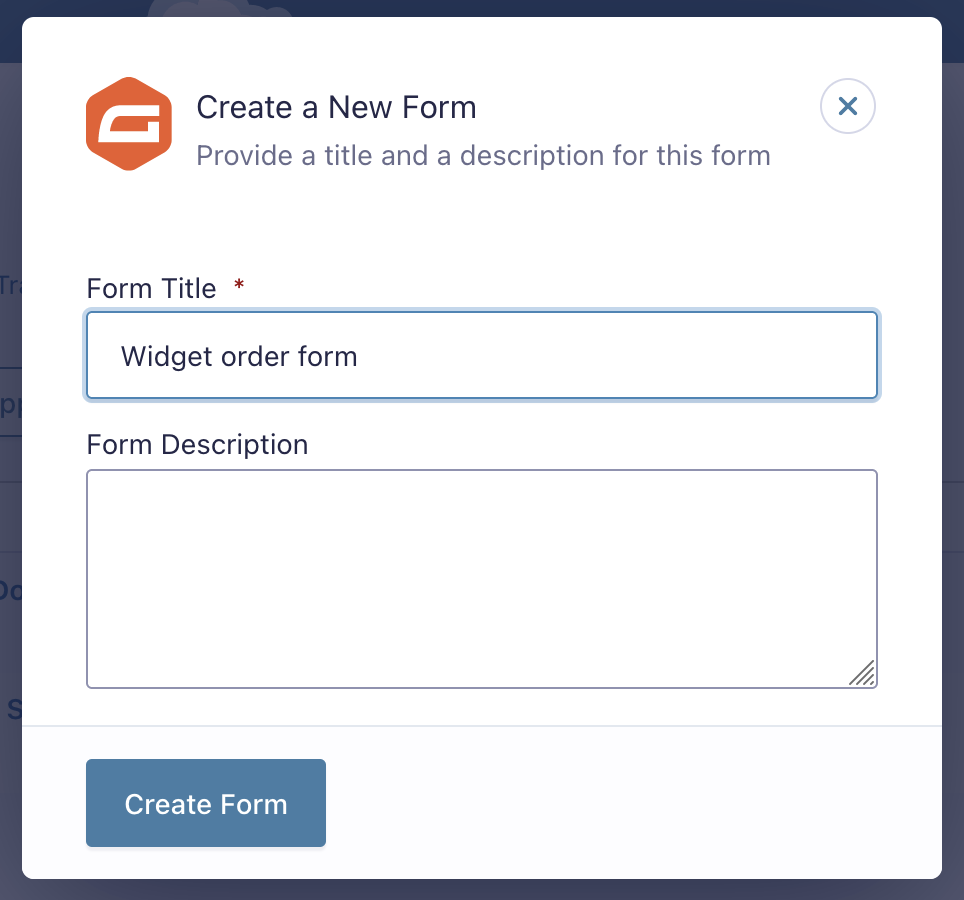
Make a start by creating a new Gravity Forms form, then save it. We’ll add some fields later.
In the settings for this form (not the same as Form Settings!), select GoCardless and add a new feed.

GoCardless Feeds Section
From the list of feed actions, select Instant Bank Pay (IBP). If you are not seeing this option, this is because your Gravity Forms default currency is not set to Pound Sterling or Euros.
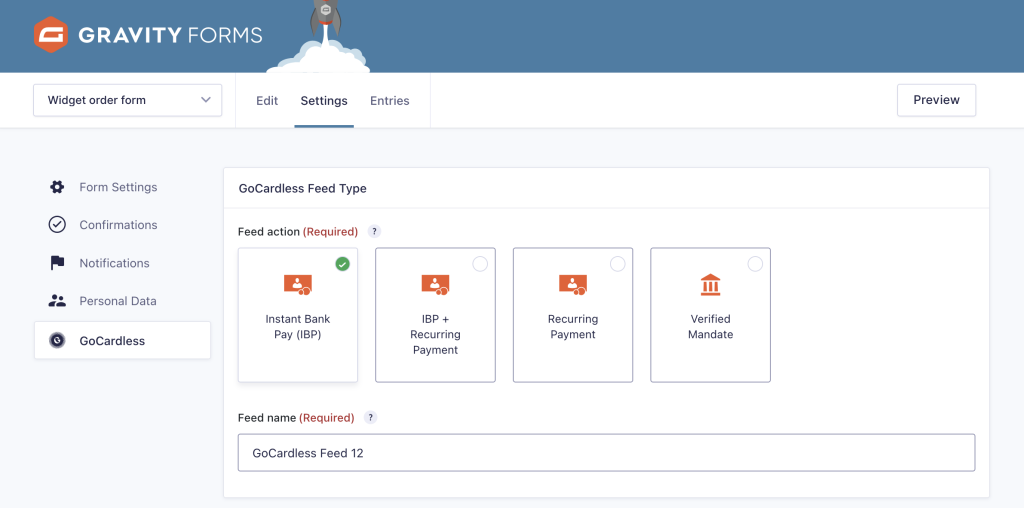
Feed name
The feed name is auto generated; you can change it if you wish, it just needs to be unique.
Instant Bank Pay Section
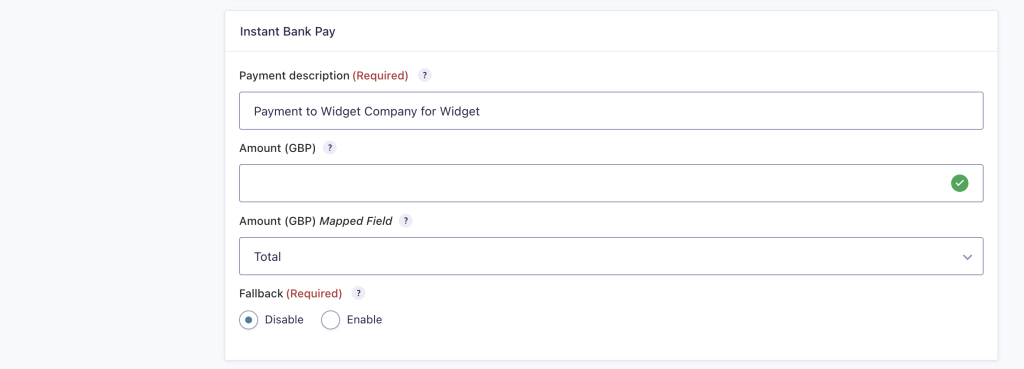
Payment description
The payment description will appear on GoCardless emails, so it should be meaningful to the customer, reminding them what the payment is for (maximum 255 characters).
Amount
If the one-off payment amount will always be the same for this form, enter this amount in the Amount field. (The currency applied will be the default currency selected in the Gravity Forms settings.) There’s no need to add a currency symbol. e.g. for £25.59 enter 25.59
If the one-off amount will depend upon the entries made on the form, you’ll need to have a field on the form that holds the amount to be taken. For instance if you run a charity and want to accept a donation of any amount, you’ll need to add a field to the form where the donor can enter this amount. If have an online store and you offer several items for sale on the same order form, then you’ll need a total field. Once you’ve added the field (see below), you can map the field here.
Fallback
Choose to enable or disable Fallback. If enabled, in the event that Instant Bank Pay is not be an option for the customer (for instance if their bank does not yet support it), then the payment can be set up via Direct Debit. A mandate will be created for this purpose. With two ways to set up the payment, Fallback improves the likelihood of the payment being set up. However if you wish to make use of GoCardless advanced fraud protection measures, or you’d rather not set up bank mandates in any circumstances, disable Fallback.
Currency Section
Currency

If you’d like to offer the user a choice of currencies, add a drop-down or radio field to your form, with the values of the choices being the 3-letter currency codes. For IBP, only GBP and EUR are your options. Then map the field here.
If you decide you don’t need a currency field, then you can ignore this section. The currency will default to the one selected in your Gravity Forms settings.
Form Prefilling Section
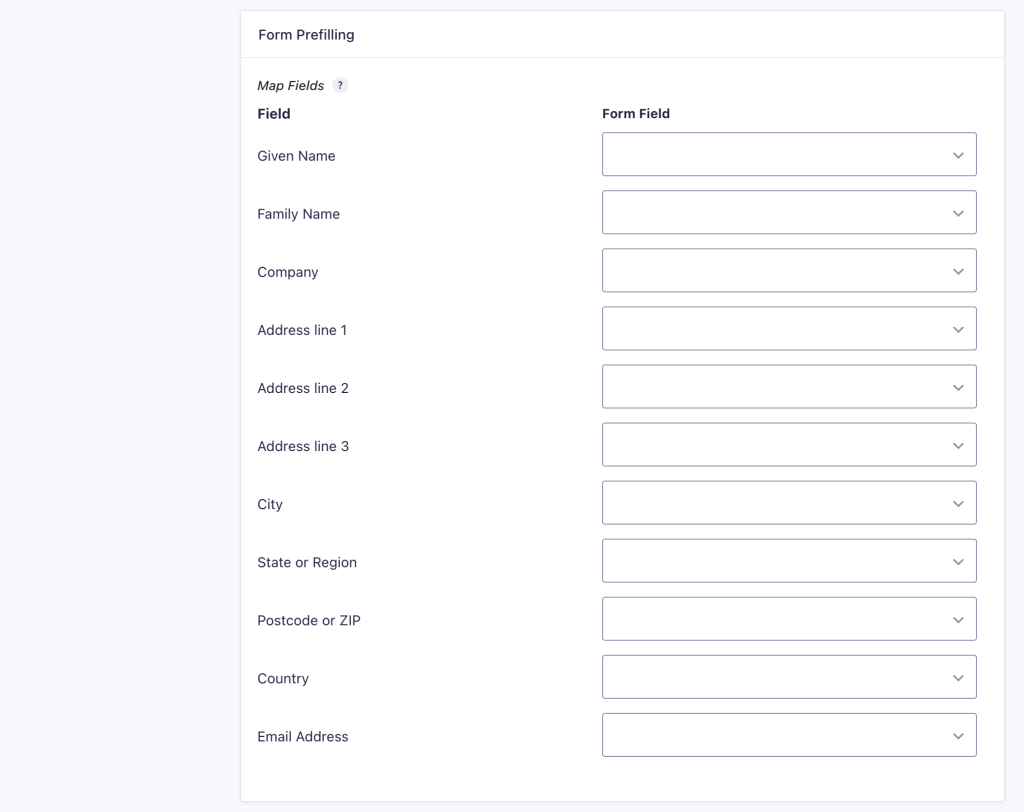
Form pre-filling is optional. The user will need to enter their details when they set up the payment via GoCardless, but if these details are entered on the form into name and address and email fields that you provide, you can map them here to the respective fields on the form so that the user doesn’t need to enter them a second time, during the GoCardless checkout process. Another advantage is that you will then have these details captured on the form entry. You might later decide to export the data, create accounts, etc.
The user can change the details during the checkout process, so there is no guarantee that the data captured on the form will match that of the payee.
If the user has a user profile on your website and is logged in when they complete the form, it’s possible using Gravity Forms to pre-populate the name and email fields from the user’s profile. See your Gravity Forms documentation.
Post Processing Section
When the user submits the form, an overlaid window is displayed that is hosted by GoCardless. This is part of the checkout process and its purpose is to obtain and verify the user’s bank details.
Hopefully the process completes successfully, however it can fail if the user does not complete it or if the details entered cannot be verified. What happens after is controlled by these settings.
The settings are intended to replace the Gravity Forms confirmation settings. You should always leave the confirmation settings set to Text; do not use Page or Redirection because this will prevent the overlaid window from opening.
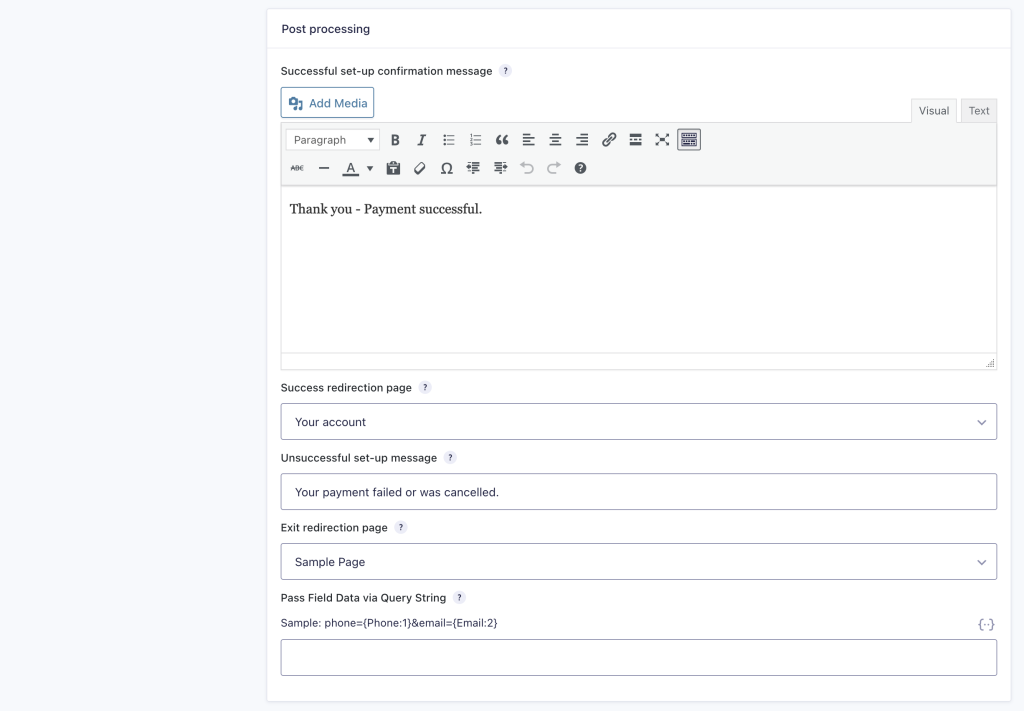
Successful set-up confirmation message
This message will overwrite the Gravity Forms confirmation message on successful completion of the payment process. You can add images and formatting if you want to, however keep the contents relatively short – there is a limit of approximately 1,000 characters of html.
Success redirection page
You can map a page here that the user will be redirected to if the payment completes successfully. The default action is to stay on the same page.
Unsuccessful set-up confirmation message
This message will overwrite the Gravity Forms confirmation message if the payment process does not complete for any reason. It will also appear in an alert box. For this reason, it needs to be short (up to 255 characters). Do not include html formatting.
Exit redirection page
You can map a page here that the user will be redirected to if the payment does not complete for any reason. You might want to do this if, for example, you want to offer an alternative payment method or you want to direct them to your customer services page. Obviously you will need to have created it before it will be listed here. The default action is to stay on the same page.
Pass Field Data via Query String
You can build a query string using merge tags here. The string will be added to the URL of the redirection pages you have defined. This give you a way to feed the data entered on the form, or any available merge tag data, over to a subsequent page. For example you could use it to pre-populate a membership application form.
Conditional Logic

By default, the form will be passed to WPdirectdebit for processing, and from there, over to GoCardless, but perhaps you also offer payment by credit card or by PayPal. By adding a payment method field to your form, the user can select their preferred payment method. With conditional logic, you can test this field to find out which method they prefer and then disable all feed processing but for the selected method. This avoids the possibility of them paying more than once.
Adding fields to your form
An Instant Bank Pay form could be as simple as a button. Or it can contain many fields, spread over several pages. Generally, you’ll add fields to your form and then map them to their function in the feed settings of your form.
We’re going to create a simple form suitable for taking a payment for an item from your online store.
Start editing your form.
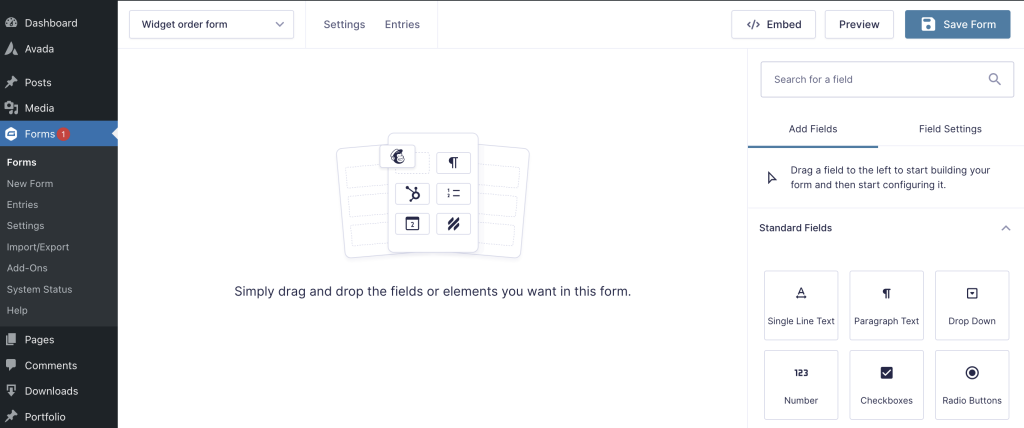
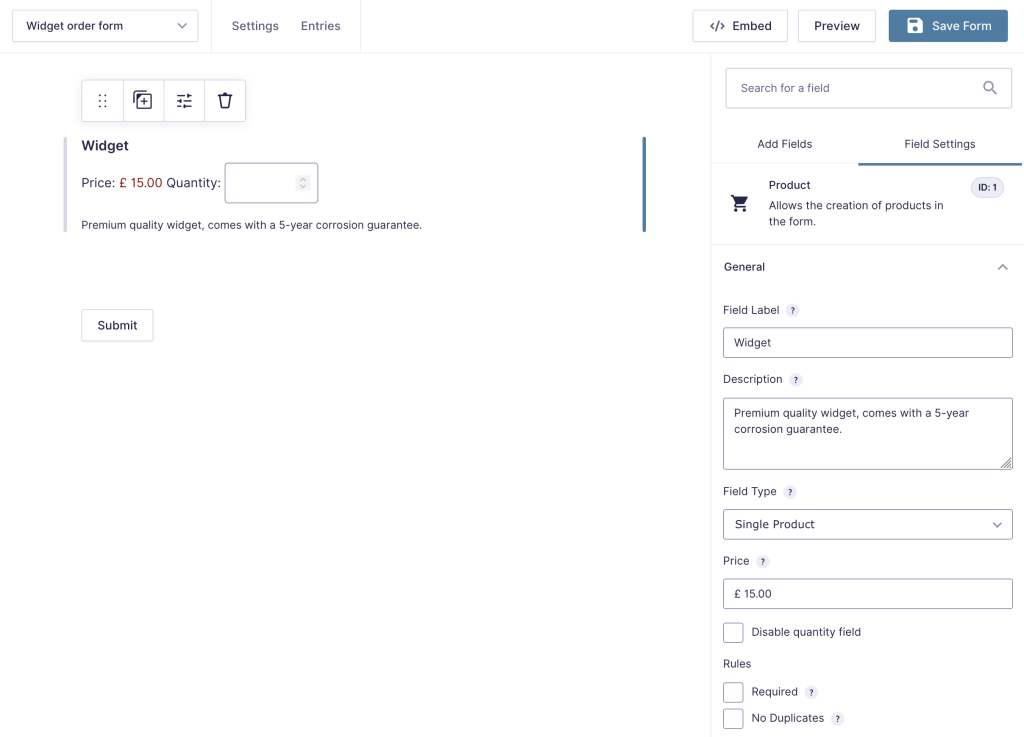
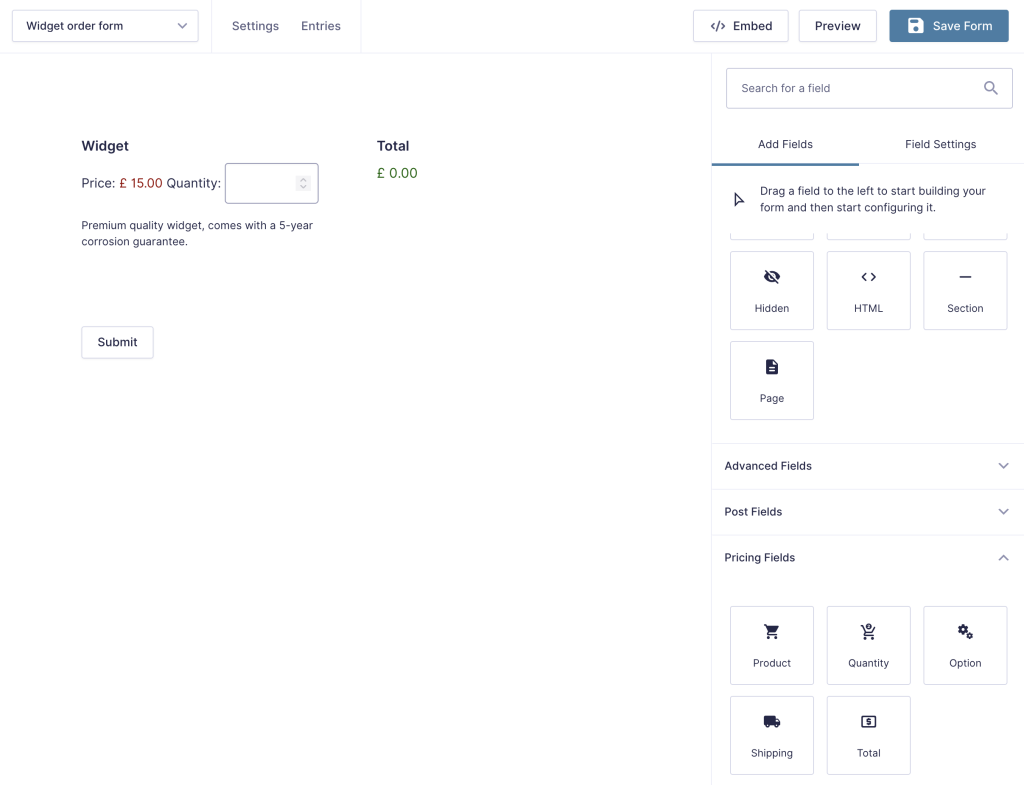
First, we’ll add a product field. You’ll find these under the Gravity Forms Pricing Fields section. You’ll need one product field for each product on your form.

Add a product name, optional description and a price for your product as shown. We’ll make use of the quantity field here too so make sure it isn’t disabled.
Next, add a Total field, also found in the Pricing Fields section. It can go anywhere – here we’ve dragged it to the right of the product.
Next, we’ll add an email field below the other fields, but again, it can go wherever is best for your design. Email fields can be found in the Advanced Fields section.
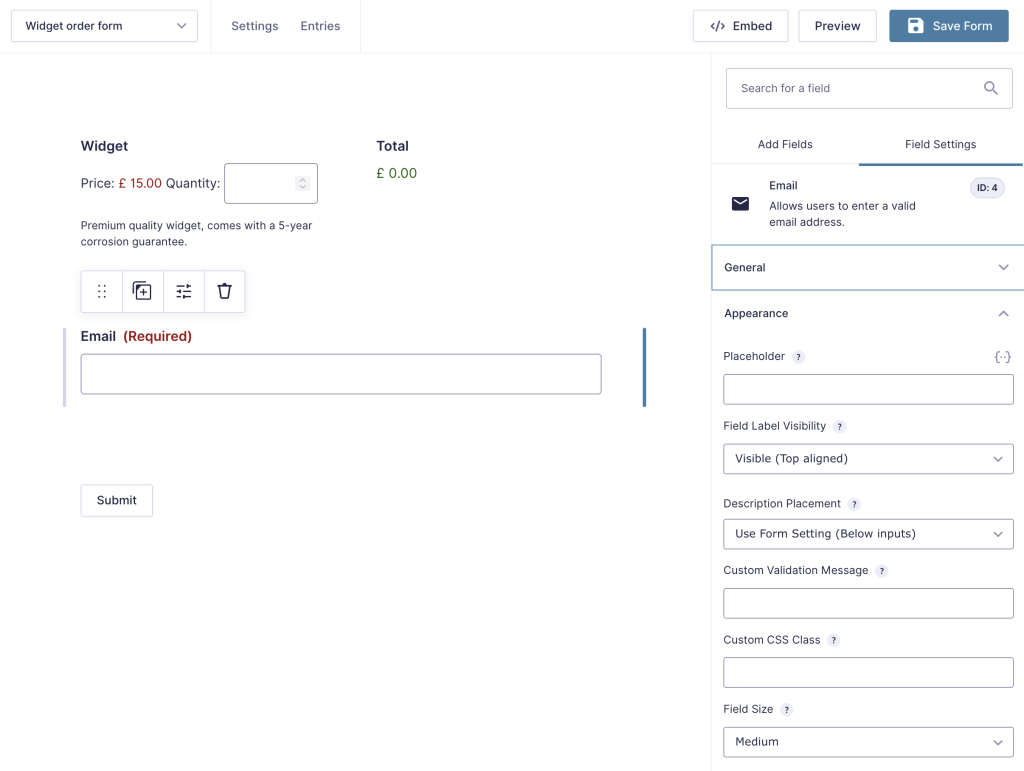
That’s all of the fields you need to collect a payment; you might want to add some more, perhaps to collect the customer’s name and shipping address.
Save your form.
Having added all of the fields to your form, return to the GoCardless feed settings because you now need to complete the field mapping.
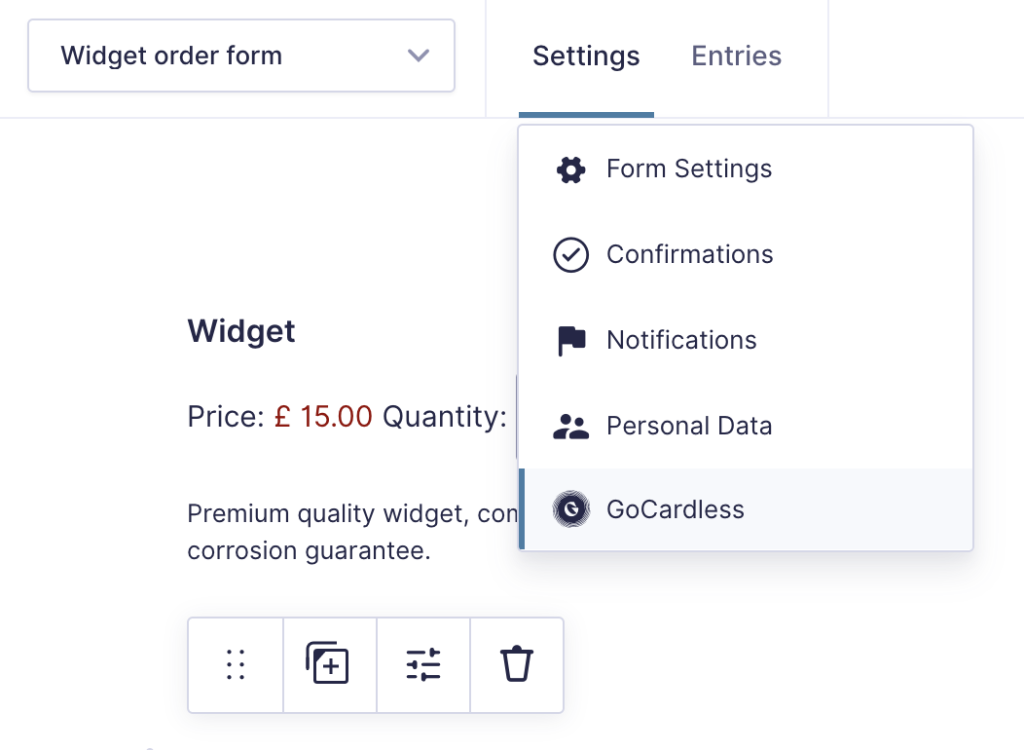
Map the Total field on the form to the Amount, and make sure that the Email field is also mapped to Email in the form-prefilling section. Then save your settings.
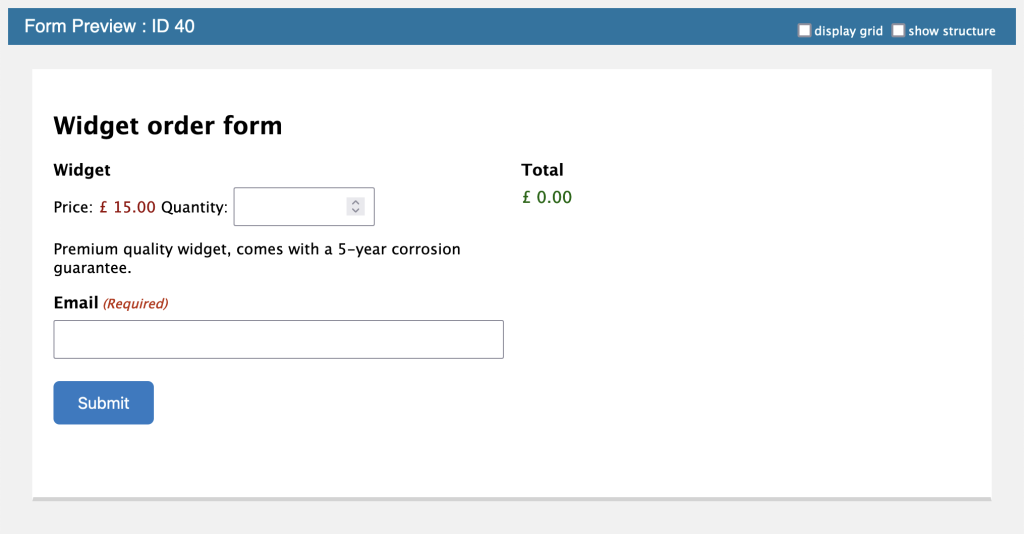
You can preview your form; it should look something like this:
Confirmations
As has been discussed, you should leave the confirmation setting for the form set to ‘Text’; otherwise, the payment window cannot open and your customer will not be able to complete the payment.

Notifications
Notifications are emails that are automatically sent when selected events occur related to form submissions.
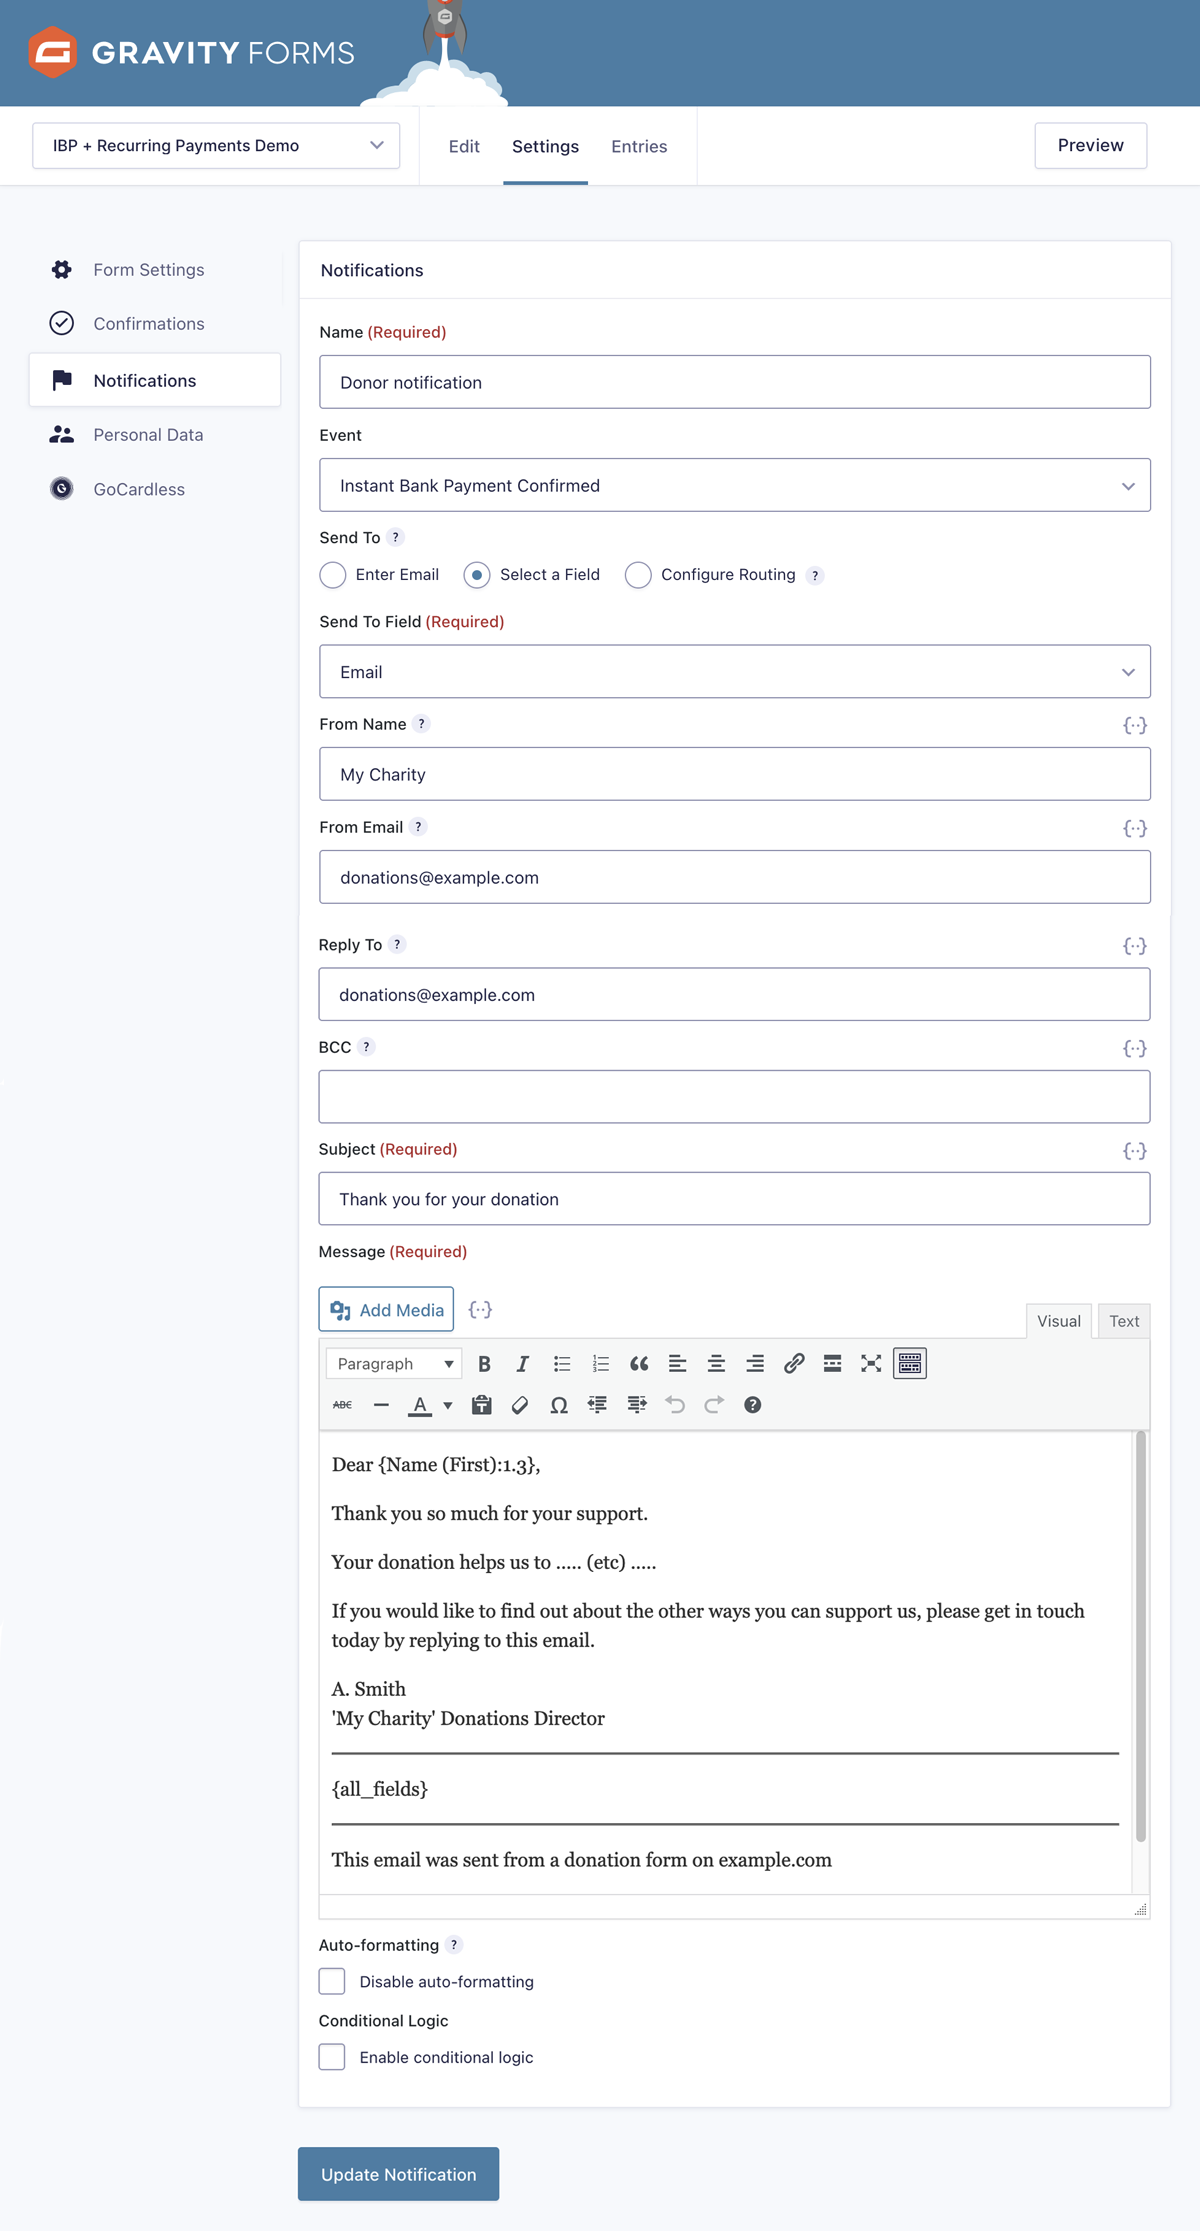
The default notification is to send an email to the site administrator. You’ll probably want to add a notification for the customer to remind them what they have agreed to, and here you can add any other information that you’d like the customer to know at this stage: your refunds policy, customer service contact details etc. And if they have opted in to marketing emails on your form, you’ll want to give them details on how to opt out.
This example below relates to a donation form but applies equally well to our widget order form. In the example, the Event selected for the notification is ‘Instant Bank Pay Confirmed’. This means that the email is only sent once the payment is set up, and not if they simply submit the form and then fail to complete the payment steps.
In the message area, we’ve used Gravity Forms merge tags to personalise the message.
Be sure to check the relevant legislation in your jurisdiction for the content of emails sent to your contacts. The example shown here may not meet these rules.
Adding the form to your site
Gravity forms are embedded using shortcodes like this:
[gravityform id="67" title="true" description="true" ajax="false"]
Note that ajax has been set to “false” here; this is the recommended setting.
Refer to the Gravity Forms documentation for more information.
